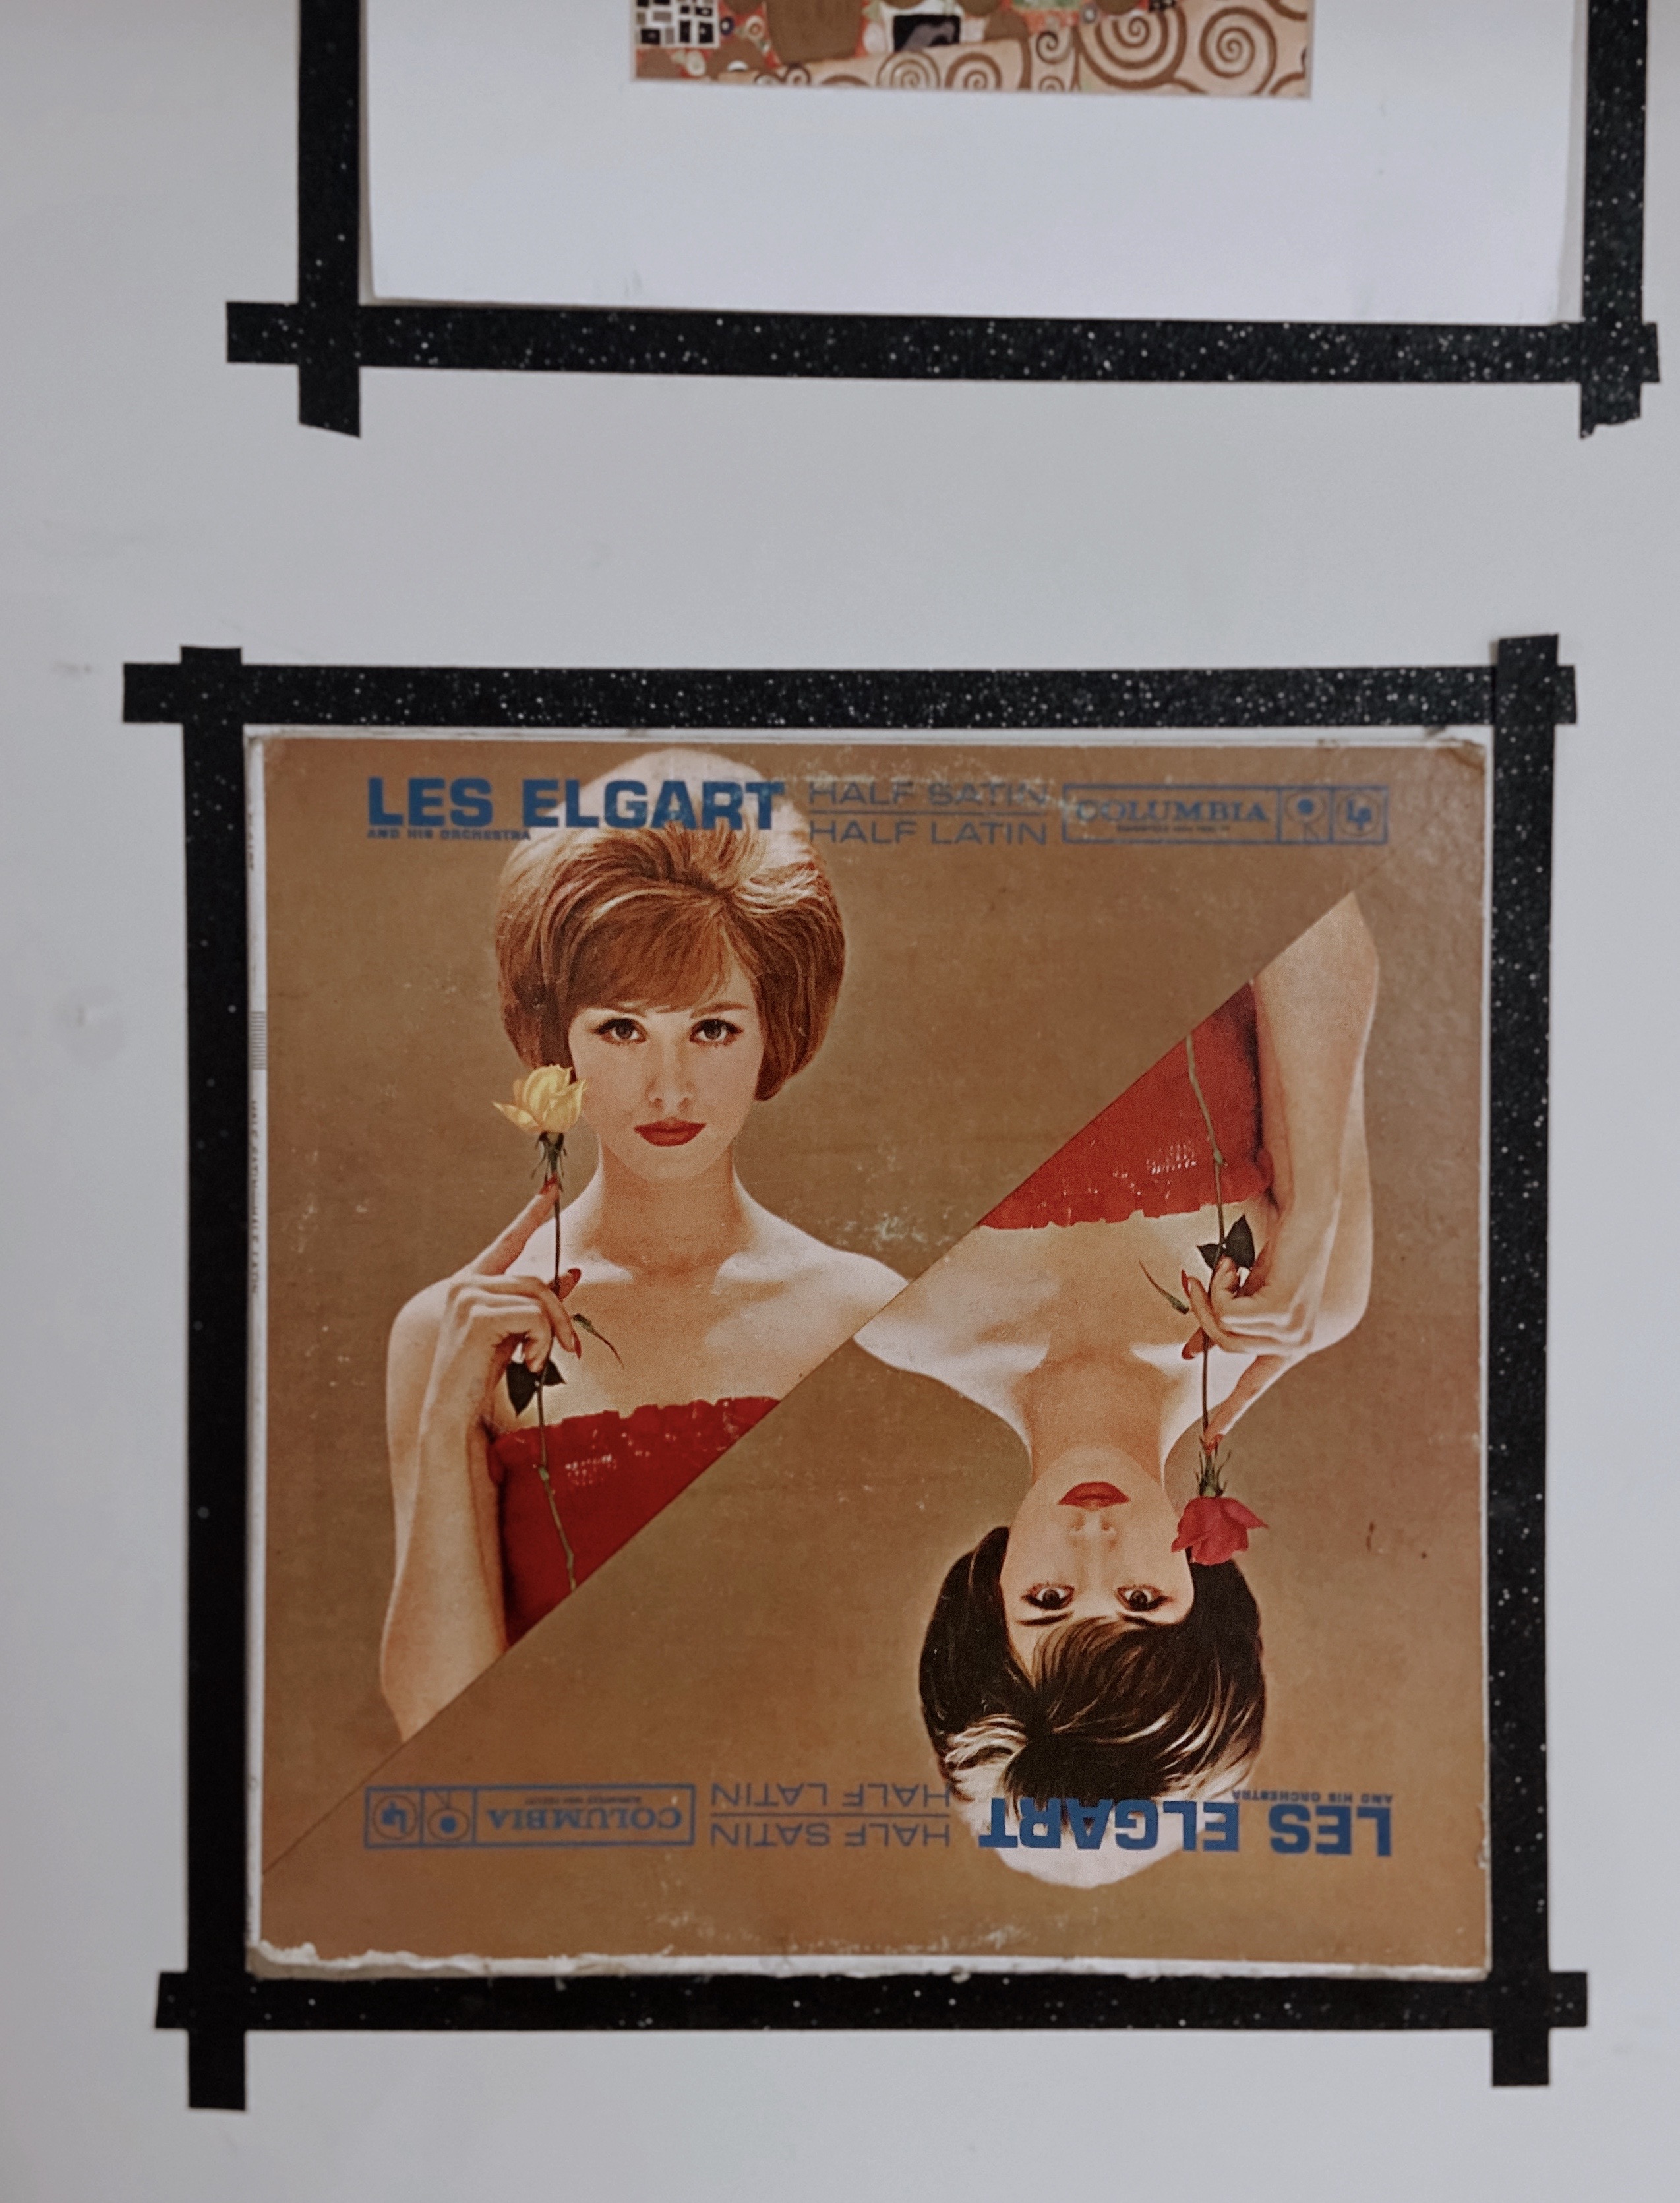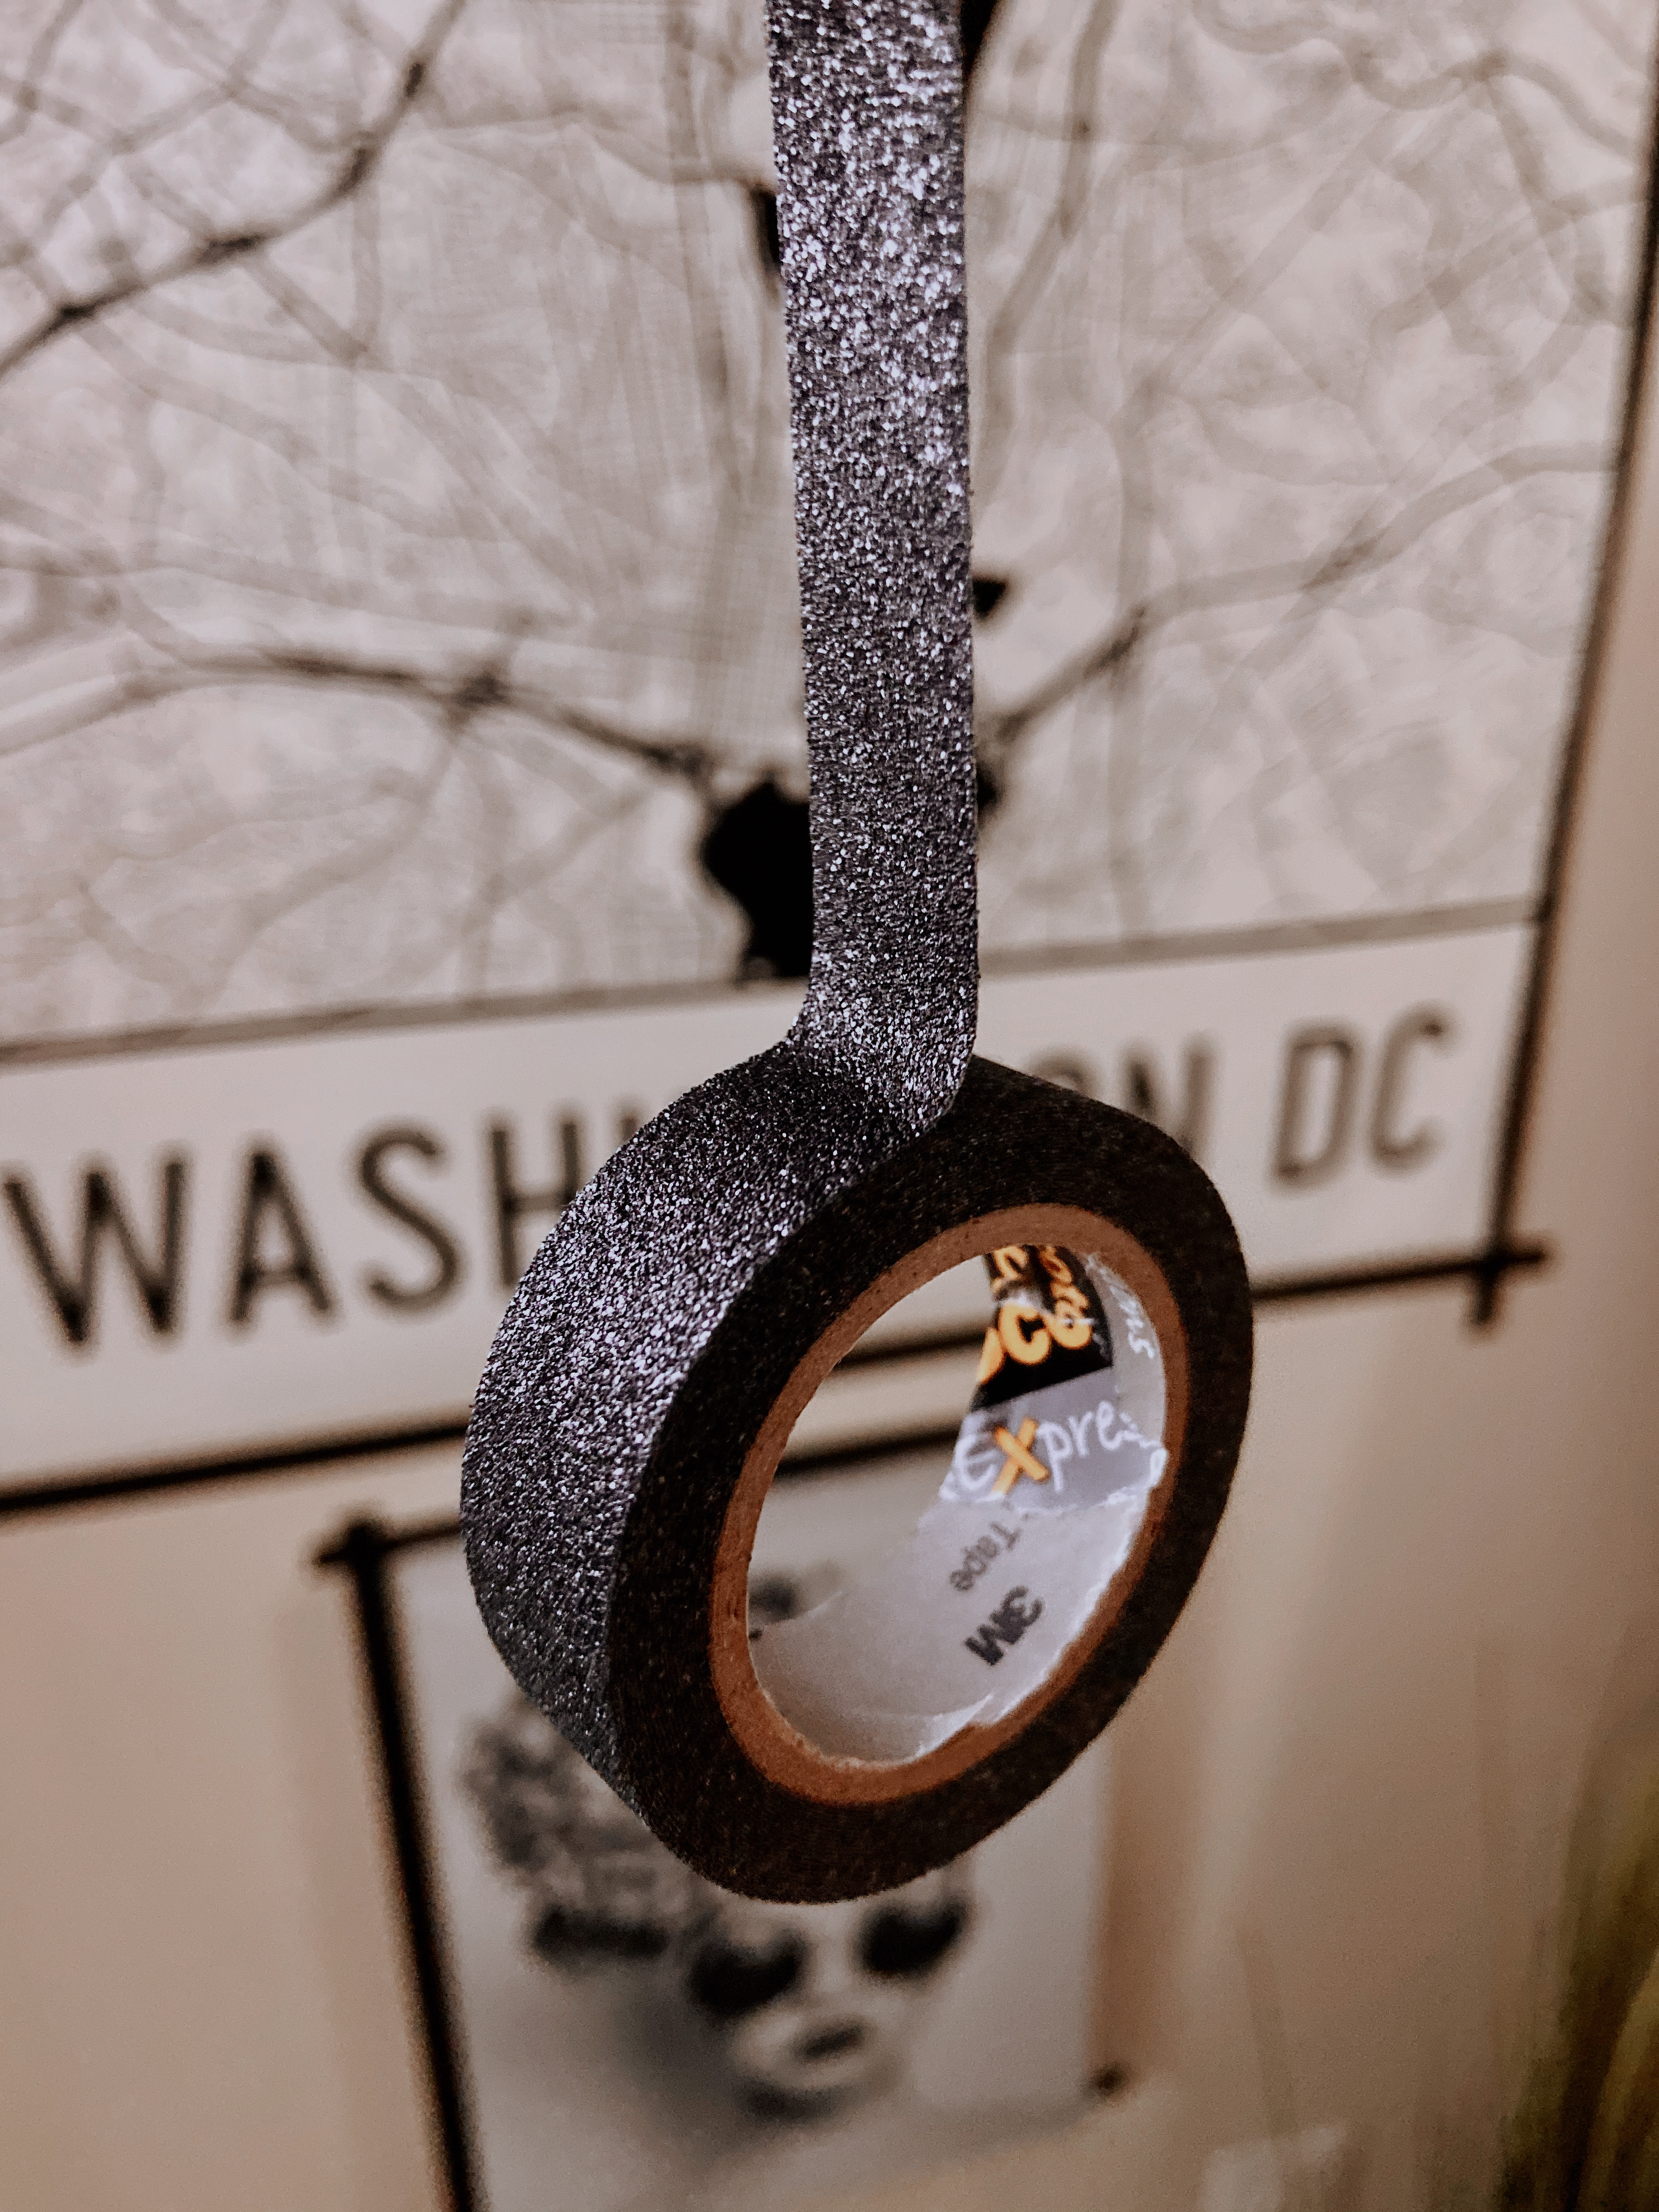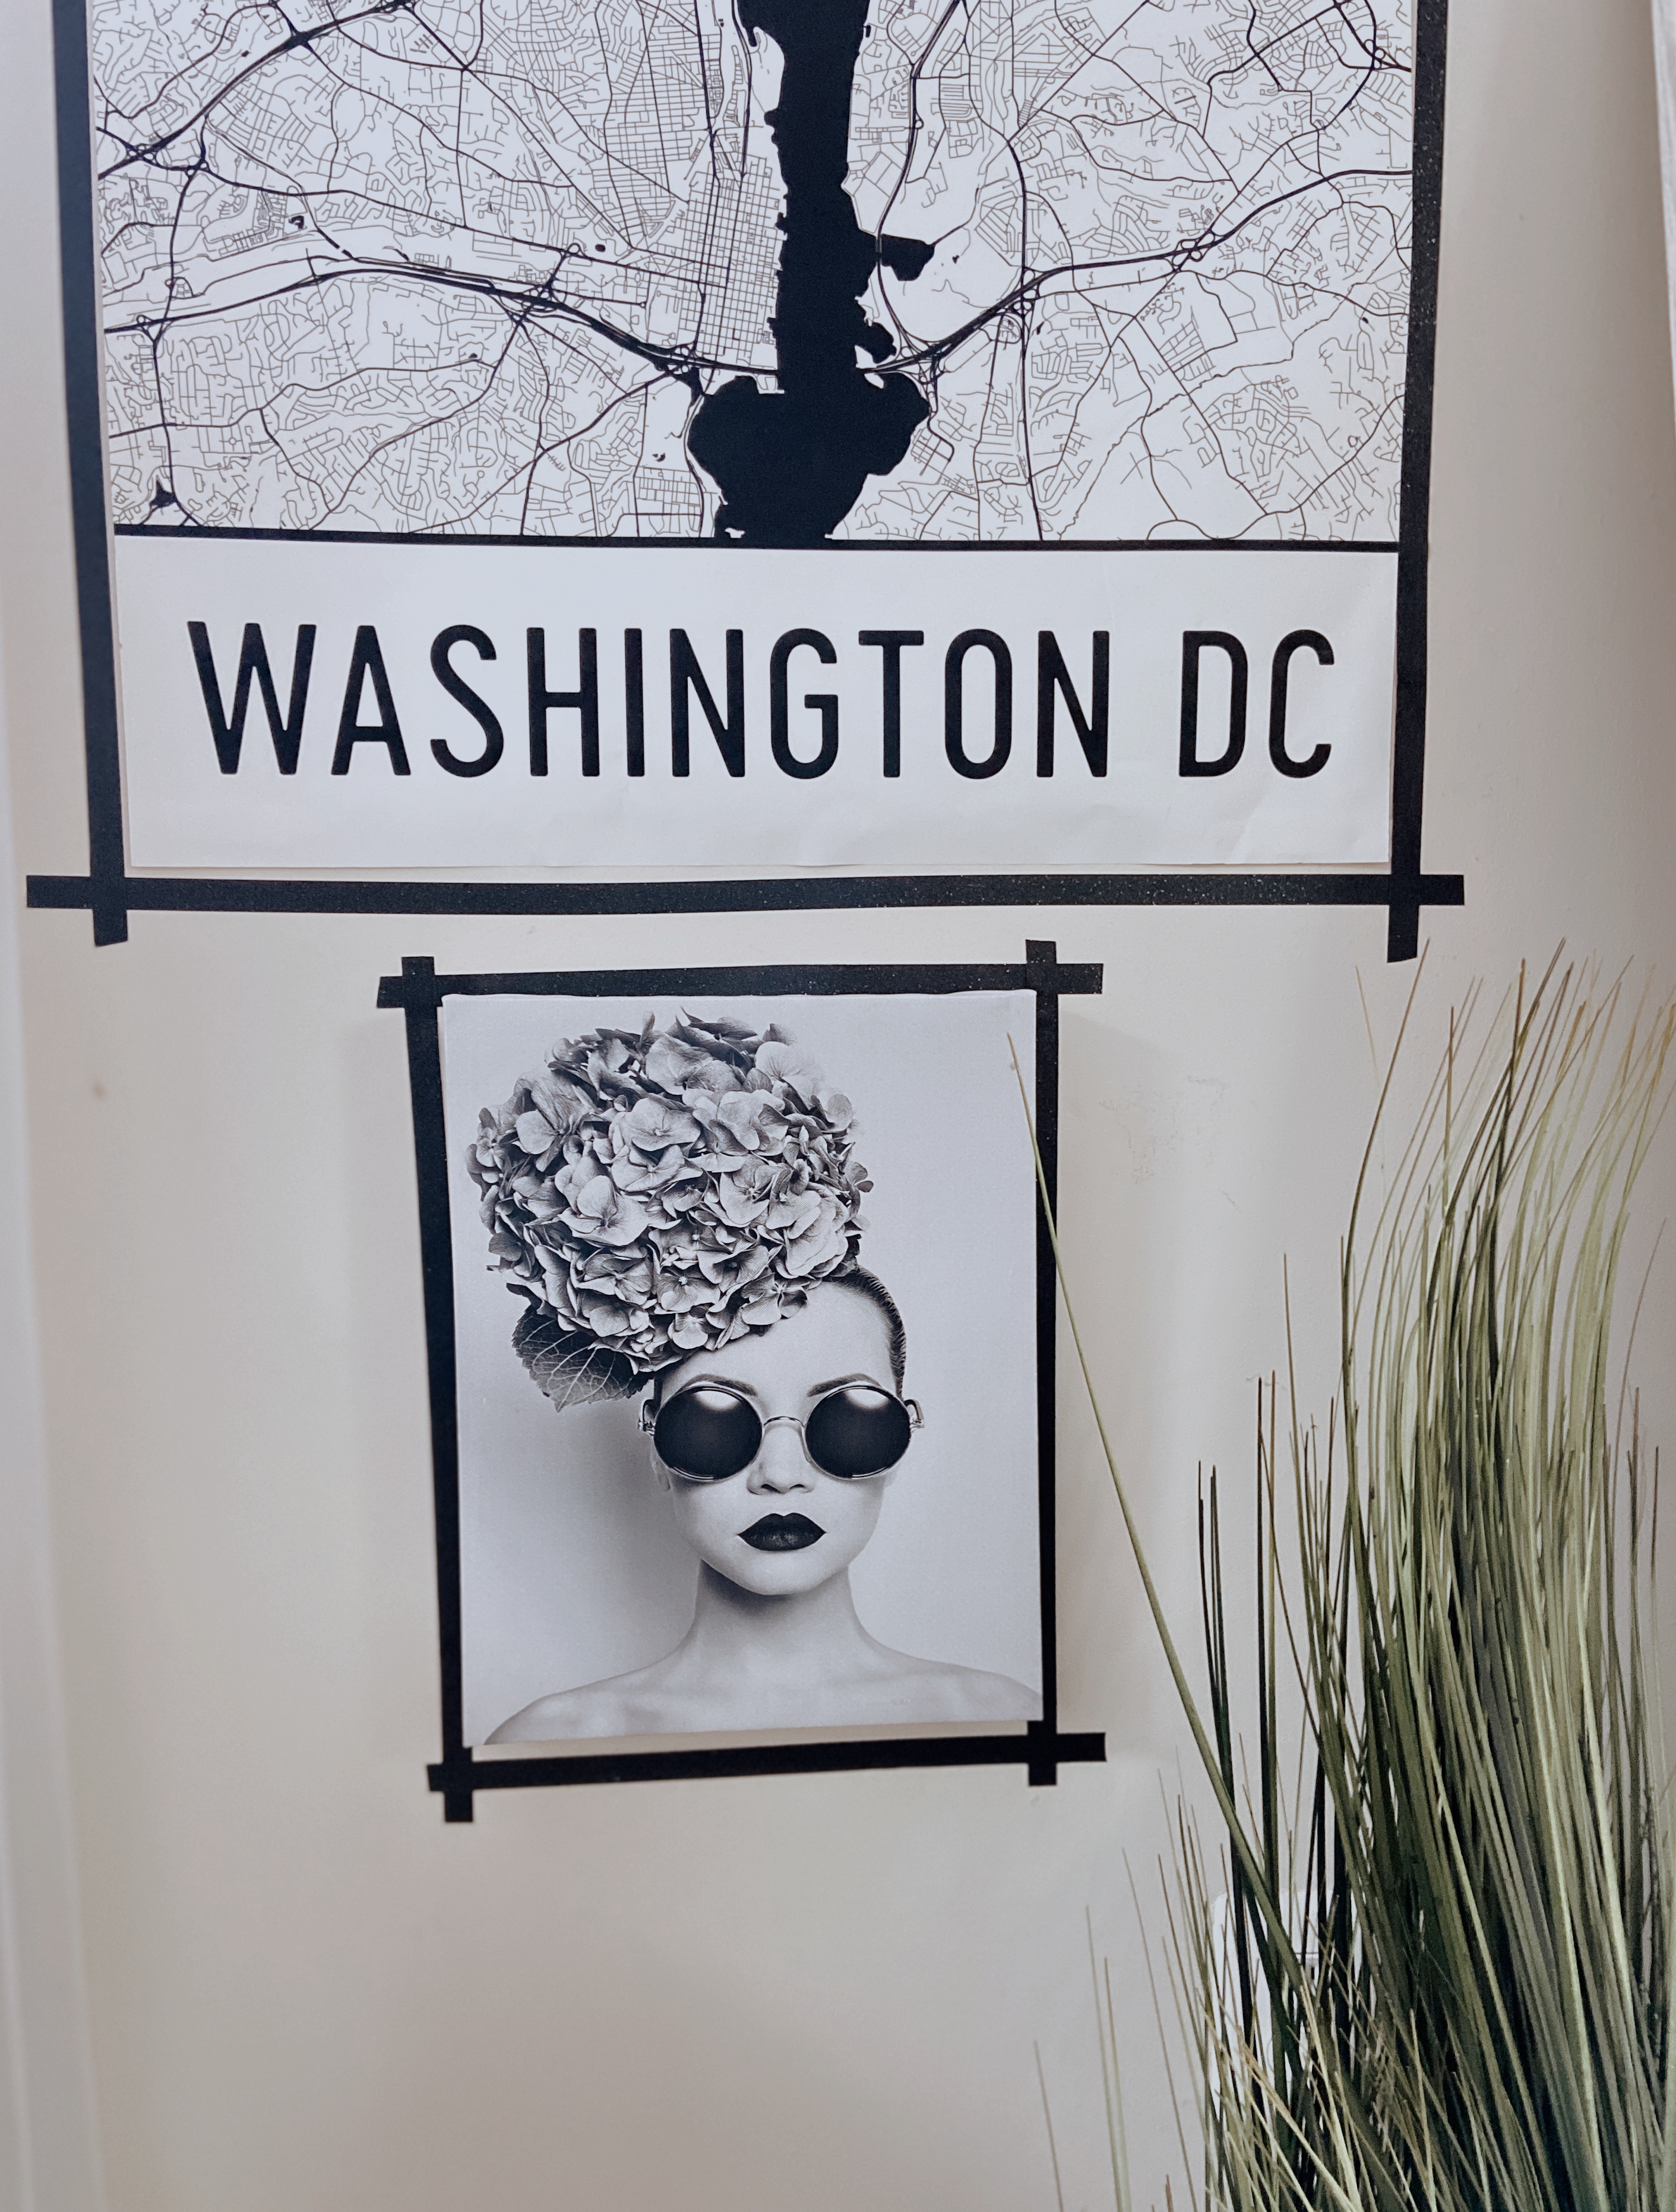
Over the past month, I’ve invested endless hours into making over my little studio into my dream abode. One thing I knew I wanted to update was my space’s gallery wall. I did not, however, want to spend too much money on the frames. And with shipping being all kinds of delayed, I also did not want to wait forever to get them on my hands. While searching for some artsy inspo on Pinterest, I found quite a few DIY projects that involved washi tape. These cool ideas convinced me to tackle a similar tape job. My only worry was I did not want my gallery wall to look like it belonged in an amature college dorm! Lol The style of my studio is pretty casual, so I knew using washi tape would fit in just fine with the existing decor. To make sure the borders still looked chic, I decided to stick to one solid color (black!) to outline all of my art.


Supplies needed:
- Your favorite prints/art you’d like to hang
- Washi tape of any kind and color you wish
- Scissors
- Level Ruler/the tape measure app
- Double-sided tape for your prints


First, lay out the prints you want to hang on a flat surface. Once you have the layout you want, start adding double-sided tape to the back of each print. Side tip: make sure your wall is wiped clean and dry prior to taping the prints. Next, use a ruler to help you level the prints and make sure they are straight. Then, add the washi tape around your prints. The washi tape does not have to sit perfectly. You can trace a traditional frame around your art, but I’ve also seen people get super creative with their washi tape frames. Most importantly, have fun and enjoy the finished framed product! 🙂
For more DIY/home inspo, visit the home decor section of my blog. I also have an Amazon shop dedicated to what I use for all of my at-home renovation and design jobs. Click HERE to check it out!


2 Comments